Last updated November 18, 2026

Free written scope consultation - allowances, timeline, and change-order rules on paper before a single trade is scheduled
Driveway & Pavers Maintenance Checklist for Costa Mesa Homeowners
The same sun that fades your patio cushions is quietly bleaching and micro-cracking your concrete driveway. Most Costa Mesa homeowners don’t spot the damage until it’s past the point of sealing and into the territory of full replacement. It isn’t the sun alone doing it. Overnight marine-layer damp settles into the joints and pores, then burns off under a hard afternoon UV index, and that wet-dry cycle runs almost every day of the year here. This guide breaks down the five zones of a driveway system, what to inspect in each, how to pick a sealer by material, and the two signs that mean you should call a contractor before winter rains arrive.
Quick Answer
A driveway and paver maintenance routine in Costa Mesa should include a 20-minute walkthrough every season (checking joints, edges, and drainage), annual joint-sand top-ups on interlocking pavers, resealing every 3 – 5 years depending on material, and an immediate call to a contractor if you see edge lifting or joint sand washing out in sheets. The wet-dry coastal cycle here stresses hardscape harder than most inland climates, so the inspection cadence matters more than the sealer brand.
Styles & brands we work with
- Kitchen remodeling
- Bathroom remodeling
- Home additions & ADU
- Roofing
- Windows & doors
- Driveway & pavers
- Fence
Table of Contents
- Why Costa Mesa Hardscape Ages Faster Than You’d Expect
- The Five Zones of a Driveway System (and What to Inspect in Each)
- The 20-Minute Annual Inspection You Can Do Yourself
- Clay Soils, Edge Lifting, and the Grading Check That Catches It
- Sealer Selection by Material Type
- A Seasonal Maintenance Calendar for Costa Mesa
- Efflorescence, Joint Sand Loss, and Other Material-Specific Problems
- Repair or Replace? How to Judge the Point of No Return
Why Costa Mesa Hardscape Ages Faster Than You’d Expect
Costa Mesa sits close enough to the water that overnight marine-layer moisture settles on hardscape nearly every night from spring through fall, then evaporates fast when the sun climbs. That constant wet-dry swing works joints and pores in a way a dry inland climate doesn’t. The same UV load that fades paint fades sealers, and once the sealer film thins, water gets into the surface and starts the cycle from the inside.
There’s a second force at play under the slab. Much of Costa Mesa rests on expansive clay soils – the kind that swell when wet and shrink when dry. The overnight damp and daytime drying causes that clay to move slightly, and that movement shows up first at the edges of a driveway, not the field. Most homeowners watch the middle of the slab because that’s what they drive on. The edges are where the trouble starts.
What this means practically: a maintenance routine tuned to a Phoenix or Sacramento driveway is aimed at the wrong enemy. In Costa Mesa, the inspection priorities are moisture intrusion, joint integrity, and edge support. Sun damage to the surface is real, but it’s the slowest of the three.
If you’re evaluating whether your current driveway is worth maintaining at all, our driveway & pavers page walks through the material options and what drives replacement cost in this market.
What’s different from an inland checklist
- Wet-dry cycling is daily, not seasonal. Joint sand and polymeric materials degrade faster here.
- Efflorescence is more common. Moisture migrating through concrete and brick pavers carries salts to the surface.
- UV fades sealers on a shorter clock. A sealer that lasts 5 years in the Central Valley may need refreshing sooner here.
- Clay soils move under slabs. Edge support matters more than field appearance.
The Five Zones of a Driveway System (and What to Inspect in Each)
Think of your driveway the way you’d think of a house room by room. It isn’t one surface – it’s five zones, and each has its own failure mode. Walking it in that order catches problems in the zone where they start rather than the zone where they finally become visible.
- The apron. Where the driveway meets the street or curb. Inspect for cracks parallel to the curb, settling, and any gap between the apron and the street surface. The apron takes the most load and the most water runoff.
- The field. The main driving surface. Inspect for hairline cracks, staining, spalling (flaking concrete), and fading sealer. Hairlines under a credit card width are normal. Cracks you can fit a nickel into are not.
- The border. The edge course, whether it’s a soldier course of pavers, a concrete curb, or a decorative band. Inspect for loose units, tipping, and gaps between the border and the field.
- The joints. The sand-filled gaps between pavers or the control joints in concrete. Inspect for sand loss, weed growth, and joint depth. If a joint is over 1/4 inch deep below the paver face, it’s due for sand.
- The drainage edge. Where the driveway meets the house, a planter, a garage floor, or a yard. Inspect for standing water after a rain, soil erosion, and staining on the adjacent wall or foundation.
Inspecting in this order makes sense because water runs from the field to the edges, and load transfers from the field to the border to the apron. When a border fails, the field behind it starts to spread. When a drainage edge fails, the whole slab can sit wet against the house.
The 20-Minute Annual Inspection You Can Do Yourself
You don’t need tools for most of this. A walkthrough in dry weather, once a year, plus a quick look after the first rain of the season, is enough to catch most problems early. Do it in the morning after the driveway has dried from the overnight damp – that’s when moisture problems show themselves most clearly as dark patches or white haze.
- Walk the full perimeter. Look for soil that has pulled away from the slab edge, or soil that is piled above it. Both are problems.
- Look at the apron from the street. Crack lines, chips, or a lip where the apron meets the street mean water is getting underneath.
- Scan the field for cracks. Photograph anything over a credit-card width with a coin next to it for scale, so you can compare next year.
- Press on the border course. A loose or rocking border unit means the bedding underneath has failed.
- Check joint depth with a screwdriver blade. On pavers, if the blade sinks more than 1/4 inch below the surface, the joints need sand.
- Hose down a small area near the house. Watch which way the water runs. It should run away from the house, not pool against it.
- Look for the white haze. Efflorescence – salt deposits pushed to the surface – is a sign moisture is moving through the material, not just sitting on top of it.
Take photos each year with your phone. A crack that looks the same in two consecutive photos is stable. A crack that’s noticeably longer or wider is moving, and that’s when you call someone.
Clay Soils, Edge Lifting, and the Grading Check That Catches It
Edge lifting is the failure mode most Costa Mesa homeowners miss entirely, and it’s the one most likely to cost them a full replacement instead of a repair. It happens when the expansive clay soil under a driveway takes on water at the perimeter, swells, and pushes the edge of the slab up. The field – supported by a more consistent layer of base – doesn’t move the same way, so the slab starts to rock. Then it cracks through the field.
The grading check
Stand at the high side of your driveway and look along the edge where the slab meets the soil. The soil should sit slightly below the slab surface and slope away from the slab at a shallow grade. What you don’t want:
- Soil mounded above the slab edge, holding water against the concrete or pavers.
- A flat or negative grade where water pools between the slab and a planter wall.
- Any visible gap between the slab and the soil under the border course.
If the grade is wrong, the fix is usually regrading the soil and improving drainage away from the slab – which is far cheaper than dealing with the slab once it has cracked. If the slab has already lifted at an edge, that’s a contractor call. Foam lifting or slab jacking can sometimes correct the edge without a replacement, but only if the underlying drainage is fixed first; otherwise it lifts again. In our experience, edge lifting on Costa Mesa driveways almost always traces back to grading, not to the concrete or pavers themselves.
Sealer Selection by Material Type
Sealer is where a lot of homeowners waste money. The wrong sealer on the wrong material either peels within a year or traps moisture and makes the problem worse. The right sealer, chosen by material, is the single biggest line item in preventing surface degradation – and it’s not complicated once you know your surface.
Stamped concrete
Stamped concrete needs a breathable penetrating sealer or a high-quality acrylic film-forming sealer, depending on whether you want a glossy look. Film-forming sealers give a wet-look finish but peel when trapped moisture pushes from underneath – a common issue with the overnight damp here. Penetrating sealers don’t change the look and don’t peel. Realistic reapplication interval in Southern California: 3 – 4 years for acrylic, 5 – 7 years for a good penetrating sealer.
Natural travertine
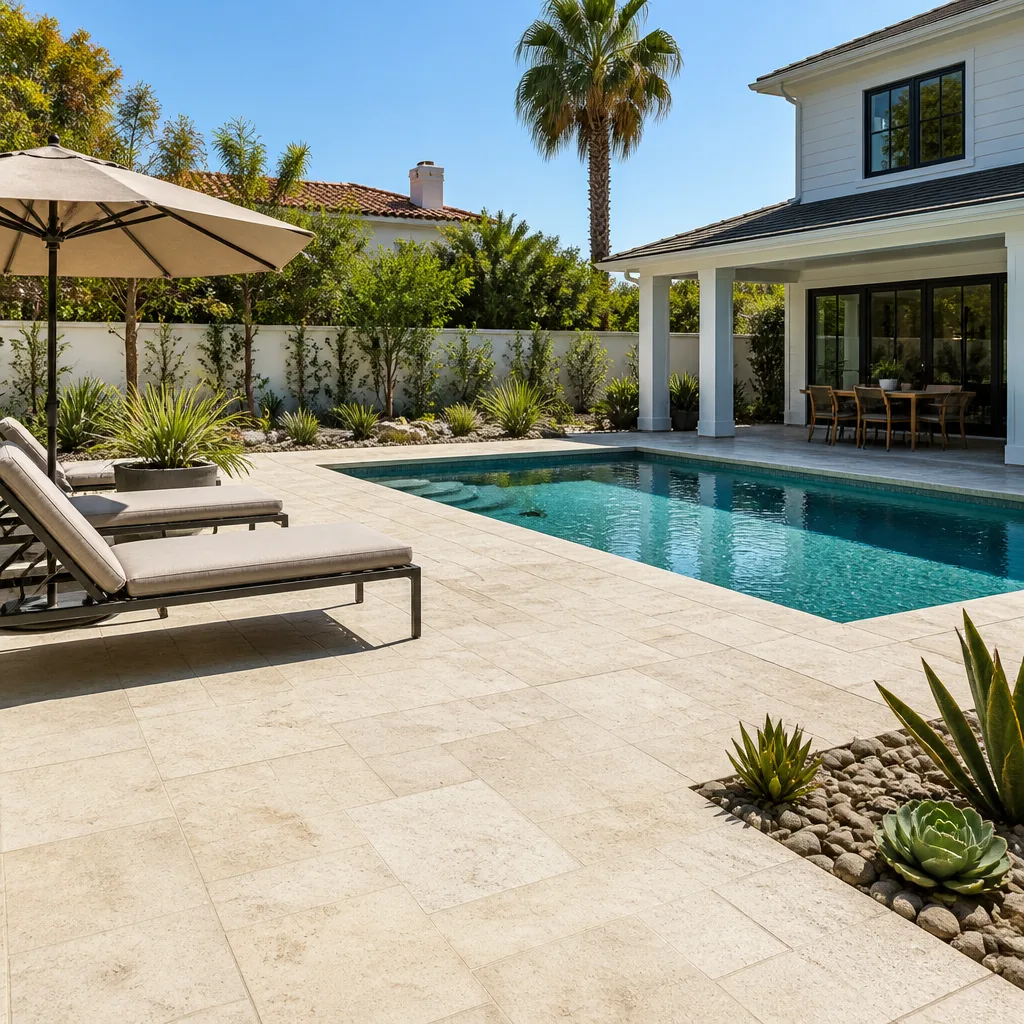
Travertine is a natural stone and needs a penetrating sealer designed for stone – never an acrylic concrete sealer. Travertine is porous and takes on moisture; a correct stone sealer keeps it out without sealing the surface shut. Reapply every 2 – 3 years for exterior travertine exposed to daily sun, and spot-check a small area after a year to see if water still beads.
Interlocking pavers (concrete or clay)
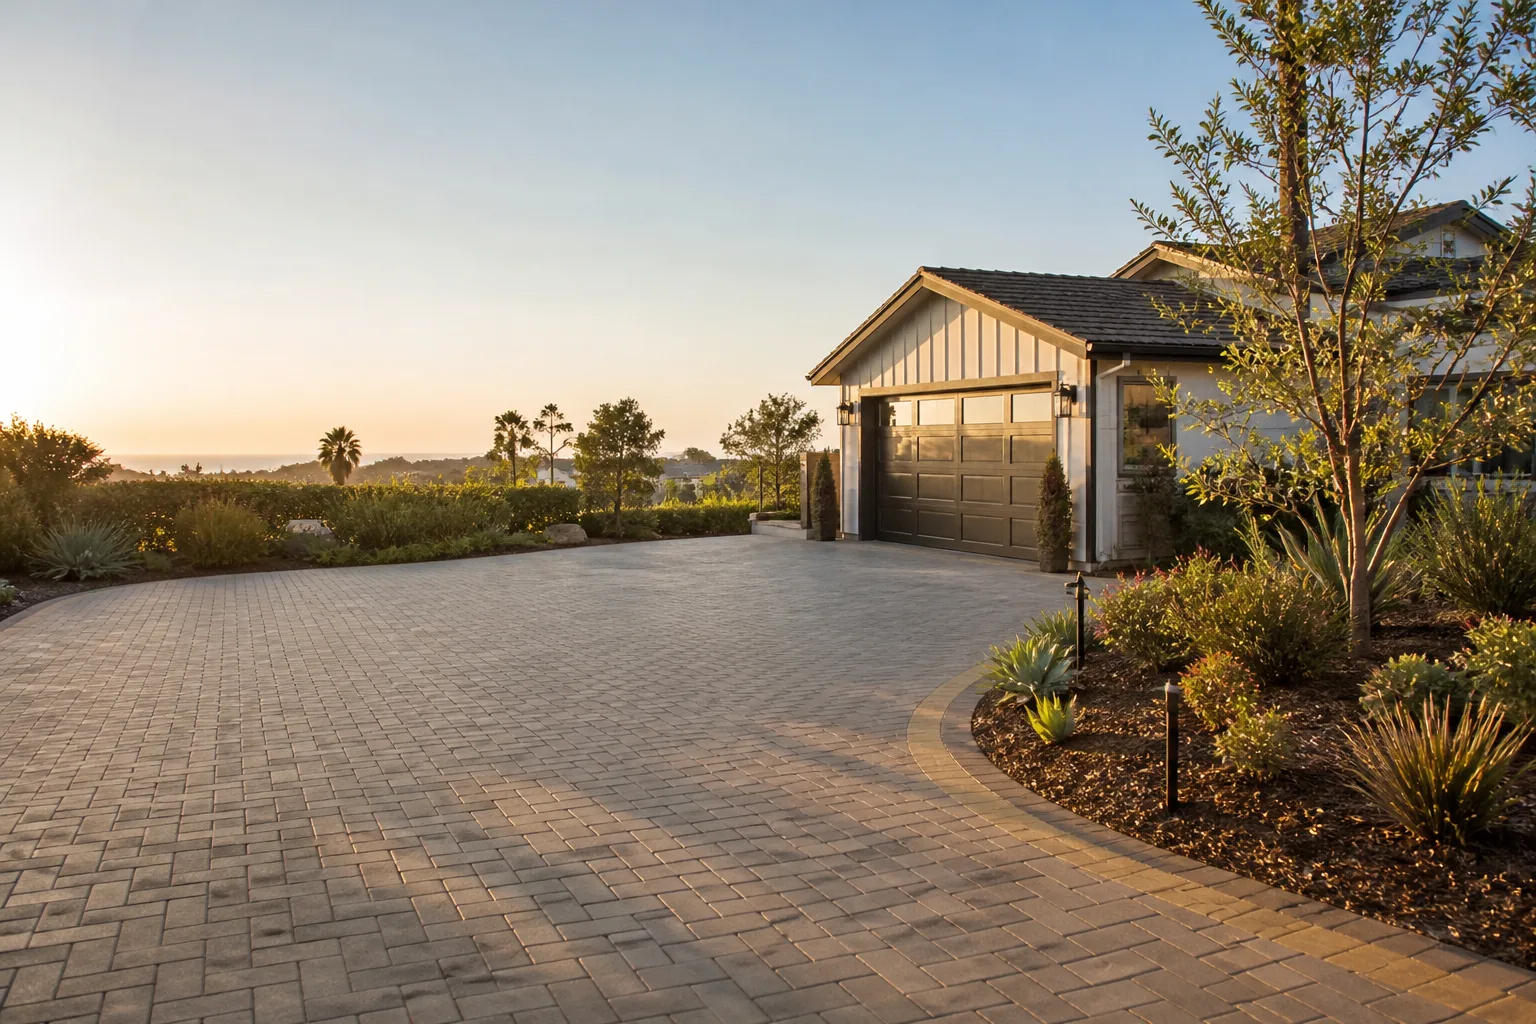
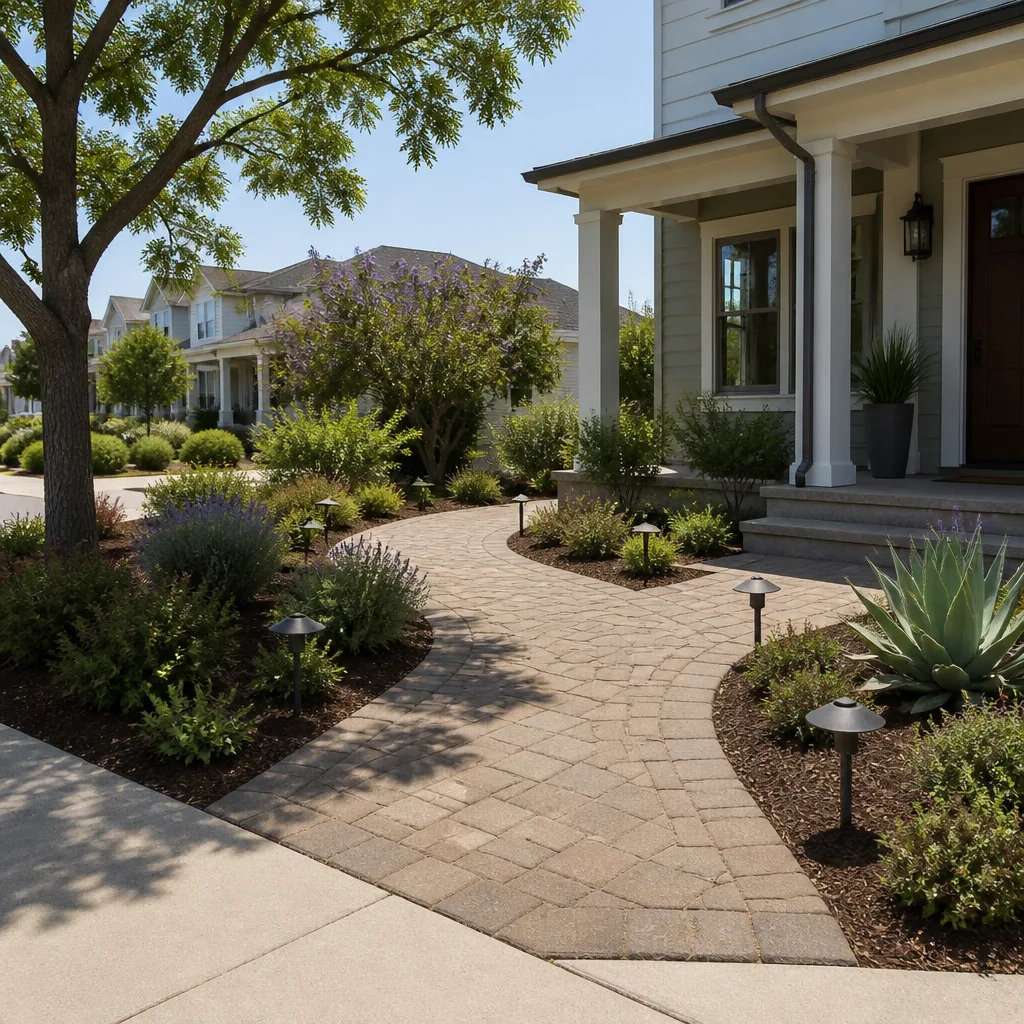
Pavers can be left unsealed or sealed. Unsealed pavers rely on joint sand and good drainage; sealed pavers get a glossier, more stable look but need joint sand maintained underneath. Most interlocking pavers do best with a breathable sealer reapplied every 3 – 5 years here, and joint sand topped up every 1 – 2 years. Clay and brick pavers take a different sealer than concrete pavers – a penetrating silicate or siloxane works better on clay because acrylic films can trap the salts that cause efflorescence.
When you’re choosing pavers for a replacement rather than maintaining what’s there, brands like Belgard, Unilock, Tremron, and Techo-Bloc each carry different joint systems and surface textures that affect long-term maintenance. Specifying them by name means sealer and joint sand choices stay matched to the product’s warranty – rather than buying a sealer off the shelf and hoping it fits.
| Material | Sealer type | Typical reapplication | Watch for |
|---|---|---|---|
| Stamped concrete | Penetrating or acrylic film | 3 – 7 years | Peeling, trapped moisture, white haze |
| Natural travertine | Penetrating stone sealer | 2 – 3 years | Water no longer beading |
| Concrete pavers | Breathable acrylic or penetrating | 3 – 5 years | Joint sand loss, faded finish |
| Clay / brick pavers | Silicate or siloxane penetrating | 3 – 5 years | Efflorescence, film peeling |
A Seasonal Maintenance Calendar for Costa Mesa
There’s no dramatic off-season here – the maintenance rhythm is steady, with a heavier push before and after the wet months. Here’s how we’d schedule it for a Costa Mesa driveway.
Before the winter rains (around October)
- Full annual inspection in the five-zone order.
- Top up joint sand on pavers so joints are filled and firm.
- Clean gutters and downspouts so roof runoff isn’t discharged into the driveway.
- Confirm grade at the perimeter slopes away from the slab.
- Seal if it’s due – sealing in dry, moderate weather lets the product cure properly.
After the wet months close (around March or April)
- Re-inspect for efflorescence, sand washout, and any new cracks.
- Re-sand joints that lost material to runoff.
- Check the apron and border after a wet winter; those are the first to show movement.
Midsummer
- Look for fading sealer – it’s easiest to see when the surface is dry and the sun is high.
- Spot-fill any cracks that opened over the dry season.
- Wash off leaf litter and dust that hold moisture against the surface.
Efflorescence, Joint Sand Loss, and Other Material-Specific Problems
Efflorescence is the powdery white bloom that shows up on concrete, brick, and clay pavers. It isn’t damage by itself – it’s salt that moisture has pulled through the material and deposited on the surface. But it tells you moisture is moving through the paver or slab, not just sitting on it. Scrubbing it off without addressing the moisture source usually means it comes back, and the real fix is either correcting drainage, choosing a sealer that lets the surface breathe, or both.
Joint sand loss is the other big one. Sand vacates the joints from wind, water, and daily driving, and once the joints are deep, the paver field can start to spread. A firm joint keeps the whole field locked. Topped-up joint sand every 1 – 2 years is cheap; refitting a spread paver field is not.
Smaller, common issues worth knowing
- Weed growth in joints. Usually a sign of low joint sand, not a weed problem.
- Oil and rust stains. They don’t damage the surface, but they trap heat and can discolor the sealer film. Clean before resealing.
- Faded sealer. Cosmetic at first; once the film is thin, the surface is exposed to direct UV.
- Cracked control joints. In concrete, control joints are supposed to crack. If a crack runs off the joint line into the field, that’s a different problem.
Repair or Replace? How to Judge the Point of No Return
The line between “maintenance” and “replacement” is mostly about whether the hardscape is still moving on its base, or just aging on top of a stable one. Surface problems – fading, efflorescence, joints due for sand – are maintenance. Structural problems – edge lifting, widespread paver spread, cracks propagating through the field – are replacement territory once they’ve gone past a local repair.
Signs a repair will hold
- Isolated cracks, one or two, not radiating from an edge.
- Loose pavers on a single border unit.
- Efflorescence and fading without sand washout.
- Joint sand loss that isn’t accompanied by paver spread.
Signs replacement is coming
- A slab edge that has visibly lifted from the surrounding soil.
- Border units tipping inward toward the field.
- Cracks that have grown noticeably in a two-year photo comparison.
- Standing water against the house after rain, despite your best regrading.
If your driveway is approaching replacement, it’s worth thinking about the whole exterior at once. A new driveway and pavers often pair naturally with fence installation because the same soil work and layout planning applies to both – and doing them together is easier than doing them a year apart. Our Construction Costa Mesa page covers the full exterior scope, from the roof down to the driveway.
Common Mistakes to Avoid
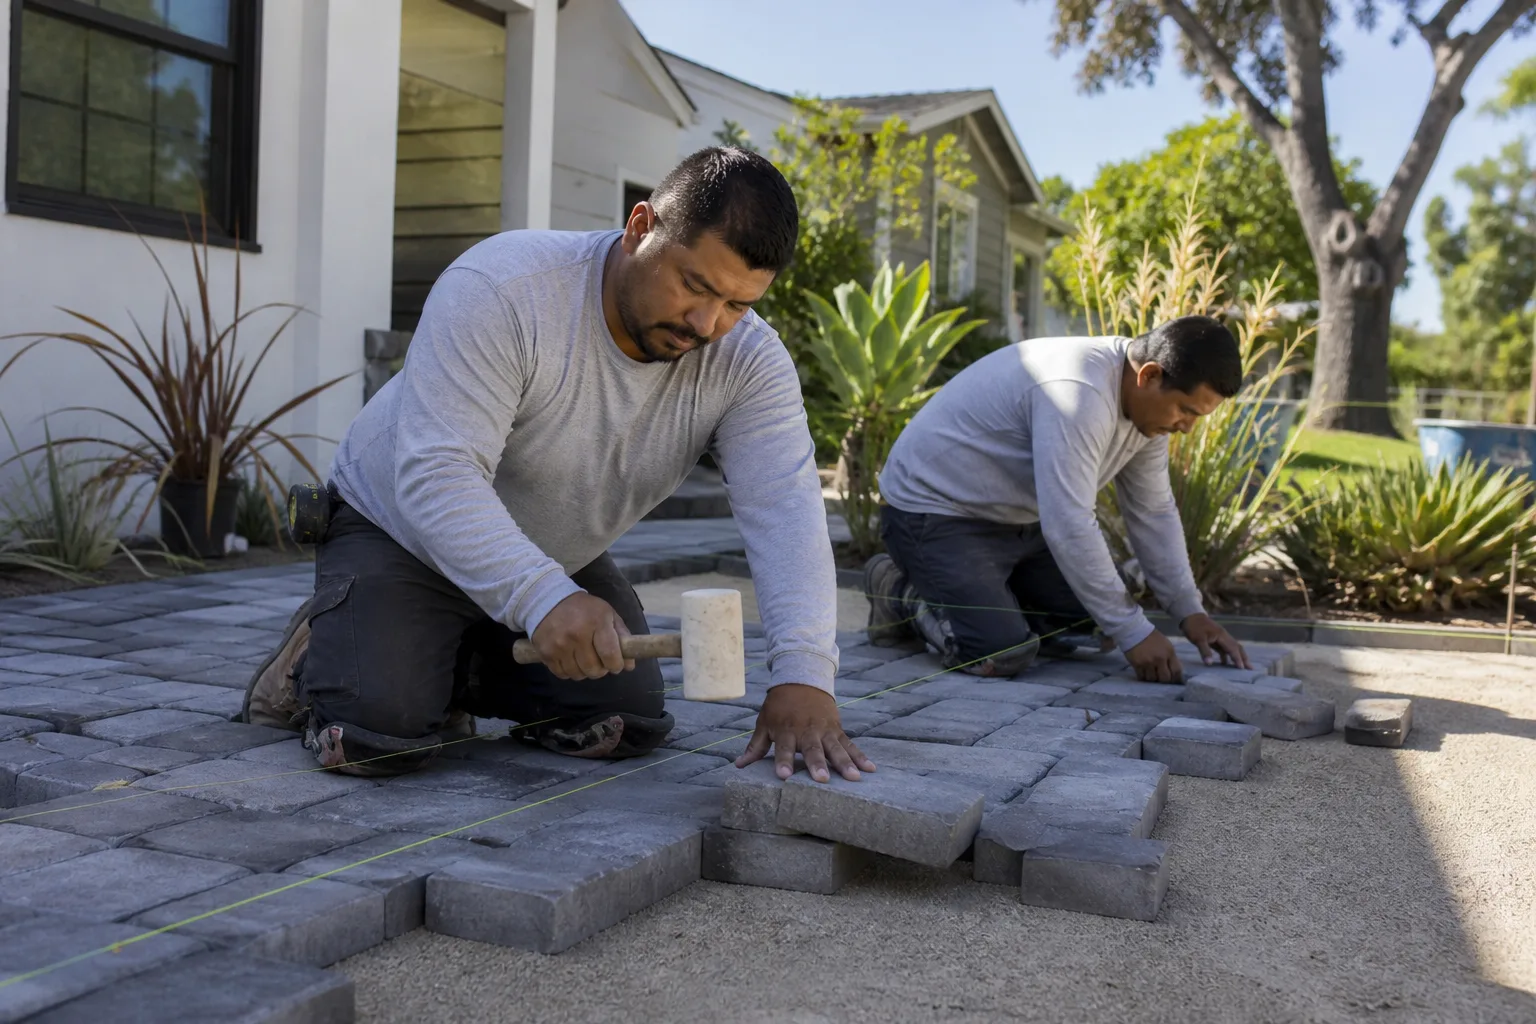
- Sealing over joints that need sand. Sealer laid over an undersanded field traps the problem in place. Top up joint sand first, then seal.
- Using an acrylic sealer on travertine or clay pavers. The film traps moisture and salts, and the surface peels within a year. Match the sealer to the material.
- Burying the slab edge under soil. A well-meaning regrade that mounds soil against the driveway holds water at the exact point edge lifting starts.
- Pressure-washing pavers directly on the joint line. A high-pressure lance blows out joint sand. Wash the paver face, not the joint.
- Watching the field and ignoring the border. The border is where spreading starts, and it’s the first thing to check.
- Waiting until the crack reaches the field. A crack at the apron or the border is a repair. A crack through the field is usually a replacement.
- Sealing in hot afternoon sun. The film cures too fast and flashes cloudy. Seal in the morning when the surface is cool.
See the difference
 Before
 After
 Before
 After
 Before
 After
When to Call a Professional
Call a contractor if you see edge lifting you can’t correct with regrading, paver border units that rock underfoot, joint sand that washes out in sheets rather than trickles, or cracks that have visibly grown between inspections. Call sooner if the driveway meets the house and water is pooling against the foundation wall – that’s a grading problem affecting more than hardscape. And call before winter rains if you’re not sure whether the sealer and joint sand are ready; a wrong call now costs more than a sealer refresh. Construction Costa Mesa offers free estimates in Costa Mesa. Call (855) 506-4558. We answer 24/7. Fast dispatch from 7am to 7pm, Sunday through Friday.
For bigger plans – a new driveway paired with a home additions & ADU or a full exterior refresh – our technicians have up to 11 years of experience working with manufacturers including Belgard, Unilock, Tremron, and Techo-Bloc, and we install to the brand’s standard, not just the minimum code. Every estimate is written line-item, and the price in the written estimate is the price – no change orders.
Frequently Asked Questions
Every 3 – 5 years for most interlocking pavers and stamped concrete, and every 2 – 3 years for natural travertine exposed to direct sun. The overnight marine-layer damp here fades a sealer film faster than dry inland climates, so check the beading after each wet season and reseal when water stops beading. If you’re unsure, call (855) 506-4558 for a free estimate – we’ll tell you whether you’re due for sealer or just joint sand.
Joint sand loss is usually about water and traffic, not bad sand. In Costa Mesa, the wet-dry cycle loosens the top of the joint, and washout from roof runoff or a bad grade speeds it up. Topping up every 1 – 2 years with the right sand and correcting the drainage behind the washout will hold the joints far longer than re-sanding alone.
The white haze is efflorescence – salt pushed to the surface by moisture moving through the material. It isn’t damage by itself, but it signals moisture is migrating through the concrete or pavers, which means the sealer or drainage needs attention. Scrub it off and expect it to return unless you fix the moisture source.
Yes, with a low-pressure surface cleaner and a fan tip aimed at the paver face – not the joint. A narrow high-pressure lance aimed at the joints blows the sand out and starts paver spread. Wash the face, rinse, and let it dry fully before topping up joints or resealing.
Stand at the high side of the driveway and look along the edge where slab meets soil. If the soil is mounded above the slab, or water pools there, the clay underneath is taking on water at the edge. Visible upheaval – where the edge sits higher than the field – is the sign to call a contractor. Call (855) 506-4558 for a free estimate if you see it – repairs done early are much cheaper than a slab replacement.
No. Sealer slows surface aging – UV fading, moisture intrusion, and efflorescence – but it doesn’t prevent cracks from soil movement underneath. Cracks come from edge lifting, base failure, and slab movement, and those need grading and drainage fixes before any sealer goes on. If cracks have already opened, call us for a free estimate before sealing over them.
The Bottom Line
A Costa Mesa driveway doesn’t fail from neglect – it fails from water movement and soil swell at the edges, and the surface damage is the last thing to appear. The five-zone inspection catches problems where they start. Annual joint sand top-ups, correct sealer by material, and a grading check at the perimeter will hold off replacement far longer than washing or sealing alone. Regrade when the perimeter is wrong, call a contractor when the edge lifts or the field spreads, and treat winter rain prep as the high-priority season. Everything else is maintenance. If you’re ready for a free estimate on a repair or a replacement, call (855) 506-4558. We answer 24/7. Fast dispatch from 7am to 7pm, Sunday through Friday.
Written by the team at Construction Costa Mesa.