Last updated November 18, 2026
Free written scope consultation - allowances, timeline, and change-order rules on paper before a single trade is scheduled
Driveway & Pavers Troubleshooting in Costa Mesa: Common Problems and How to Fix Them
Most homeowners call us when the pavers themselves look bad. A chip here, a sunken corner there, sand washing out of the joints after a storm. Here’s the counterintuitive part: the pavers are almost never the problem. The trouble lives underneath them, in the base, the edge restraints, and the drainage grade – and the surface is just telling you what’s happening down below. Read the symptom correctly and you might be looking at a few hundred dollars of re-sanding and re-leveling. Misread it as “the whole drive is shot” and you’re quoting a full replacement you may not need. This guide walks you through the common problems Costa Mesa homeowners actually face, what each one signals, and how to fix it properly the first time.
Quick Answer
Most driveway and paver problems in Costa Mesa trace back to water – how it drains, where it pools, and whether the base and edge restraints are holding. Sinking near the garage apron, edge lifting, joint sand loss, and surface spalling are all symptoms with specific root causes, and most are repairable without a full replacement. Fix the cause, not the surface, and the repair lasts.
Styles & brands we work with
- Kitchen remodeling
- Bathroom remodeling
- Home additions & ADU
- Roofing
- Windows & doors
- Driveway & pavers
- Fence
Table of Contents
- The Symptom-to-Cause Map: Reading Your Driveway
- Why Pavers Sink Near the Garage Apron
- How Winter Rain Accelerates Base Erosion
- Polymeric Sand Failure and How to Re-Joint Correctly
- Surface Spalling: What It Is and What It Signals
- Repair or Replace? How to Tell If You’re Being Upsold
- DIY-Safe Fixes vs. Work That Needs a Permit or a Pro
- Preventing the Problem from Coming Back
The Symptom-to-Cause Map: Reading Your Driveway
Before you call anyone, spend ten minutes looking at your driveway the way a contractor does. What you’re reading for is the pattern. A single cracked paver is a paver problem. The same crack running in a line across several pavers is a base or grade problem. The distinction matters because it points you to a completely different repair.
Here’s the map we use in the field, and it’s the single most useful thing you can take from this guide:
- Pavers sinking in one localized area: base compaction loss, usually from water channeling beneath the surface. The pavers are fine; the bed failed.
- Pavers lifting or heaving at the edges: missing or improperly pinned edge restraints, or a bed that can no longer absorb water. This is both a safety and a drainage issue.
- Joint sand washing out or joints tracking mud: failed polymeric sand, poor drainage, or both. Re-jointing fixes the look; fixing the drainage keeps it fixed.
- Surface spalling (flaking or pitting of the paver face): a material or moisture issue at the paver itself, sometimes from freeze-moisture cycling or from the wrong paver for the application.
- Cracks running in a continuous line: a structural or grade problem, not a paver problem. Never just replace the cracked units and call it done.
- Staining and efflorescence (white haze): moisture rising through the pavers and evaporating off the surface. Fix the source of the water.
The diagnostic habit is simple: don’t look at the damage, look at where the water went. Every driveway problem in Southern California starts with water. Once you know where the water is going, you know what to repair. And that’s the difference between a targeted fix and replacing a driveway that didn’t need replacing.
Why Pavers Sink Near the Garage Apron
If your pavers are sinking specifically near the garage apron – that transition where the driveway meets the slab – the problem almost certainly isn’t the pavers. It’s compaction loss from water channeling under the garage slab. The apron is the lowest, hardest-working point on the driveway. It takes the full force of the car’s weight, the slope of the slab directs surface water right at it, and any gap at the slab edge gives water a route underneath.
What happens next is predictable. Water finds the seam, seeps under the paver bed, and softens the compacted base. The base loses its ability to carry load. The paver settles into the void. If you repave only that spot without addressing the water path, it will sink again the first good rain.
A proper repair at the apron usually involves:
- Pulling the affected pavers back to expose the base (typically a small area, not the whole drive).
- Removing the failed base material and re-compacting new base in lifts.
- Sealing the slab-to-driveway seam so water can’t keep getting under it.
- Re-setting the pavers, re-sanding, and restoring the slope so water runs off instead of in.
The repair cost depends entirely on how much base failed, and that’s why we always lift a few pavers before quoting. When the failure is localized at the apron, the repair stays localized. We bring the same approach to every driveway & pavers project: diagnose the water, fix the base, then reset the surface.
How Winter Rain Accelerates Base Erosion
Costa Mesa winters are mild compared to most of the country, but “mild” doesn’t mean “no water.” Our rain events come in concentrated bursts – a few good storms rather than steady drizzle – and it’s the burst that does the damage. A dry base can handle rain. A base with a missing edge restraint and a flat spot can’t. Water hits the surface, finds the lowest point, and instead of running off, it sits, seeps, and erodes.
The pattern is specific and repeatable:
- Rain falls. If the surface slope is off – even slightly – water puddles instead of running off, and stands there for hours or days.
- Water works into the joints. If the polymeric sand is broken down, there’s nothing stopping it from reaching the base.
- An unpinned or missing edge restraint lets water escape sideways, washing out the shoulder and undermining the pavers from the side.
- The base softens, the pavers lose support, and the settling shows up after the rain as a dip, a rock, or a loose corner.
This is why edge restraint matters so much. A paver driveway is only as good as its perimeter. Restraints are pinned down so the pavers can’t spread outward and the base can’t wash out. When we quote a repair, we check the edge first, because a repair without a restrained edge is a repair waiting to fail. In Costa Mesa, where we get real storm totals in the winter, that perimeter is the difference between a driveway that holds and one that needs work every spring.
Polymeric Sand Failure and How to Re-Joint Correctly
Polymeric sand is what locks the pavers together, keeps weeds out, and keeps moisture from reaching the base. When it fails, it fails in a recognizable pattern – and in Southern California, the culprit is usually our temperature swings. Hot afternoons and cool nights make the joints contract and expand. Year after year of that cycling cracks and lifts the sand crust above the paver surface. Once water gets under that crust, the bond breaks down and the sand washes or blows away.
The failure pattern to look for:
- A thin crust of sand lifting or peeling off the surface, often in sheets.
- Joints that look shallow, sandy, or “empty” after a rain.
- Sand collecting at the low end of the drive or in the street.
- Weeds or moss establishing in the joints within one season.
Re-jointing correctly is more than sweeping sand back in. The right sequence is to pull out the failed sand to a consistent depth, clean the joints of dirt and old material, dry the surface, pour the polymeric sand, compact it into the joints, clean the surface completely, and then activate it according to the manufacturer’s instructions. And it must be done in the right weather window – application on a hot day, before a rain front, or with a wet surface all compromise the bond. That’s the part DIY kits skip, and it’s the reason re-jointed drives fail again within a year.
Surface Spalling: What It Is and What It Signals
Spalling shows up as flaking, pitting, or pop-outs on the paver face – small chips or sheets of the surface lifting away. It’s the one common problem that’s genuinely about the material, not always the base. There are two main causes worth knowing.
The first is moisture. If water is trapped under or inside the paver and then tries to escape through the face, it can push off a thin surface layer over time. The second is the pavers themselves: a paver that wasn’t suited to the application, or a batch that wasn’t properly cured, can spall under normal load and weather. On a driveway that carries vehicles, cheap pavers that were specified for a patio will eventually show it.
The fix depends on the scale. A handful of spalled units can often be swapped for matching replacements – provided you specified a paver with matches still available. When you work with the leading brands such as Belgard, Unilock, Techo-Bloc, Tremron, or Cambridge Pavers, replacement units are far easier to source years later, which is exactly why material choice matters more than the lowest bid. If spalling is widespread, the conversation turns to whether the original paver was the right one for the job.
The under-appreciated point: spalling is sometimes a symptom, not the disease. If it’s happening at the same low spot where the drive holds water, fix the drainage. Swapping pavers over a bad grade just gives you new pavers that will spall in a few seasons.
Repair or Replace? How to Tell If You’re Being Upsold
This is the question every homeowner wants answered, and it’s fair. A full driveway replacement is a real expense, and a repair is a fraction of that. So how do you tell the difference between a legitimate recommendation and an upsell? The honest answer is that it comes down to how much of the base is compromised and whether the fix will actually hold.
A repair is legitimate when:
- The failure is localized – a defined area that can be pulled and reset without touching the rest of the drive.
- The cause is identifiable and fixable – a broken edge restraint, a bad seam at the slab, a failed joint sand.
- The rest of the base is sound. A contractor can usually tell by lifting a few pavers and probing the base.
- The repair addresses the water path, not just the settled pavers.
A replacement is legitimate when:
- The base has failed across a large area – multiple sink spots, widespread rocking, or water pushing up through joints across the drive.
- The grade is fundamentally wrong and can’t be corrected without tearing out the surface.
- Repeated repairs have been attempted and failed, because the underlying cause was never addressed.
- The pavers are at the end of their serviceable life and matching replacements aren’t available.
Here’s the tell: a contractor who quotes a replacement without lifting a paver and showing you the base under it is guessing. Ask to see the failure. Ask where the water is going. A straight answer to those two questions separates a diagnostician from a salesperson. When the repair is the right call, we say so, because a driveway that still has a decade of life left in it isn’t worth replacing.
DIY-Safe Fixes vs. Work That Needs a Permit or a Pro
Not every paver problem needs a contractor, and we’d rather you fix the simple things yourself than pay us to sweep sand. But some repairs are genuinely beyond the homeowner’s safe reach, either because they touch drainage grade or because they require a permit. Here’s the honest line.
DIY-safe fixes:
- Sweeping fresh polymeric sand into minor joint gaps on a dry, mild day, following the manufacturer’s instructions.
- Pulling weeds and cleaning the surface with a mild detergent and a stiff broom.
- Spotting a single loose or chipped paver for replacement if it matches and the base under it is sound.
- Clearing debris from a perimeter that’s blocking where water would otherwise run off.
Work that needs a pro or a permit:
- Re-setting pavers over a failed base – the base has to be re-compacted and re-graded to hold, and the surface slope has to be restored.
- Any repair that changes drainage grade or redirects water toward a neighbor, a foundation, or the street. Grade changes almost always have to be checked against local rules, and most cities require a permit or at least a plan review when you’re altering how water moves off the lot. In Costa Mesa, ask the city’s building department before you change drainage.
- Repairing or replacing edge restraints that are pinned into concrete.
- Anything that requires re-compacting base in lifts. Hand-compaction with a rented plate compactor looks fine and fails in a season because it isn’t compacted to depth.
If your project touches more than the driveway – a new fence along the property line, an ADU that changes the layout – the right move is to plan the whole scope together. We handle fence installation and home additions & ADU in the same contract as the hardscape, so the drainage, grade, and perimeter are planned as one system instead of three separate fixes that fight each other.
Preventing the Problem from Coming Back
The best repair is the one that doesn’t need repeating. Once you’ve diagnosed and fixed the cause, a few habits keep the driveway in shape through Costa Mesa’s rainy season and dry summers alike.
- Watch the water, not the pavers. After the first big rain of the season, walk the drive and look for puddles. Anywhere water stands for more than a few hours is a spot to investigate.
- Check the perimeter annually. Walk the edges and look for lifting, gaps, or washed-out soil. A settled shoulder is the first sign of an edge restraint that’s failing.
- Re-sand when joints look low. Don’t wait for the weeds. If the joints look sandy and shallow after a rain, re-sand before the next storm pushes water through.
- Keep the low point clear. If the drive meets the street, a curb, or a drain, debris there backs water up onto the surface. Clear it before the rain, not after.
- Know what paver you have. If you ever need to replace a unit or match a brand, you need the name. Materials from the leading manufacturers are far easier to match years later, and specifying the right one at install saves a lot of inconvenience.
None of these are glamorous, but together they turn a driveway that needs a spring repair every year into one that you can re-sand once and forget. The pattern in our experience is that the drives people think “can’t be fixed” are the ones where nobody ever checked the edge or the grade. Fix the perimeter and the grade, and the surface takes care of itself.
Common Mistakes to Avoid
- Replacing pavers over a failed base. It’s the most common and most expensive mistake we see. A new paver set on a base that still holds water will fail in exactly the same place within a season. The pavers were never the problem.
- Re-sanding without fixing the drainage. New polymeric sand over a low spot that traps water is sand that will wash right back out. Fix where the water goes first, then re-joint.
- Assuming the crack is the cause. A crack running across several pavers is a symptom of a base or grade problem. Replacing the cracked units hides it until the next rain.
- Ignoring the edge restraints. In Costa Mesa, where rain comes in concentrated storms, a perimeter that wasn’t pinned properly lets water undermine the whole drive. It’s the cheapest part of the job and the most important.
- Changing the grade without checking the rules. Redoing the slope to stop a puddle can push water toward a foundation or a neighbor. Check with the city before you move the grade; most cities require a permit for changes that affect drainage.
- Buying the cheapest paver for a driveway. A paver specified for a patio will spall and fail under vehicle load. Match the material to the application, and pick a brand with matches available later.
- Letting a contractor quote a full replacement without showing the base. If nobody lifted a paver to show you the failure, you’re being quoted a guess, and a guess on a job this size is expensive.
See the difference
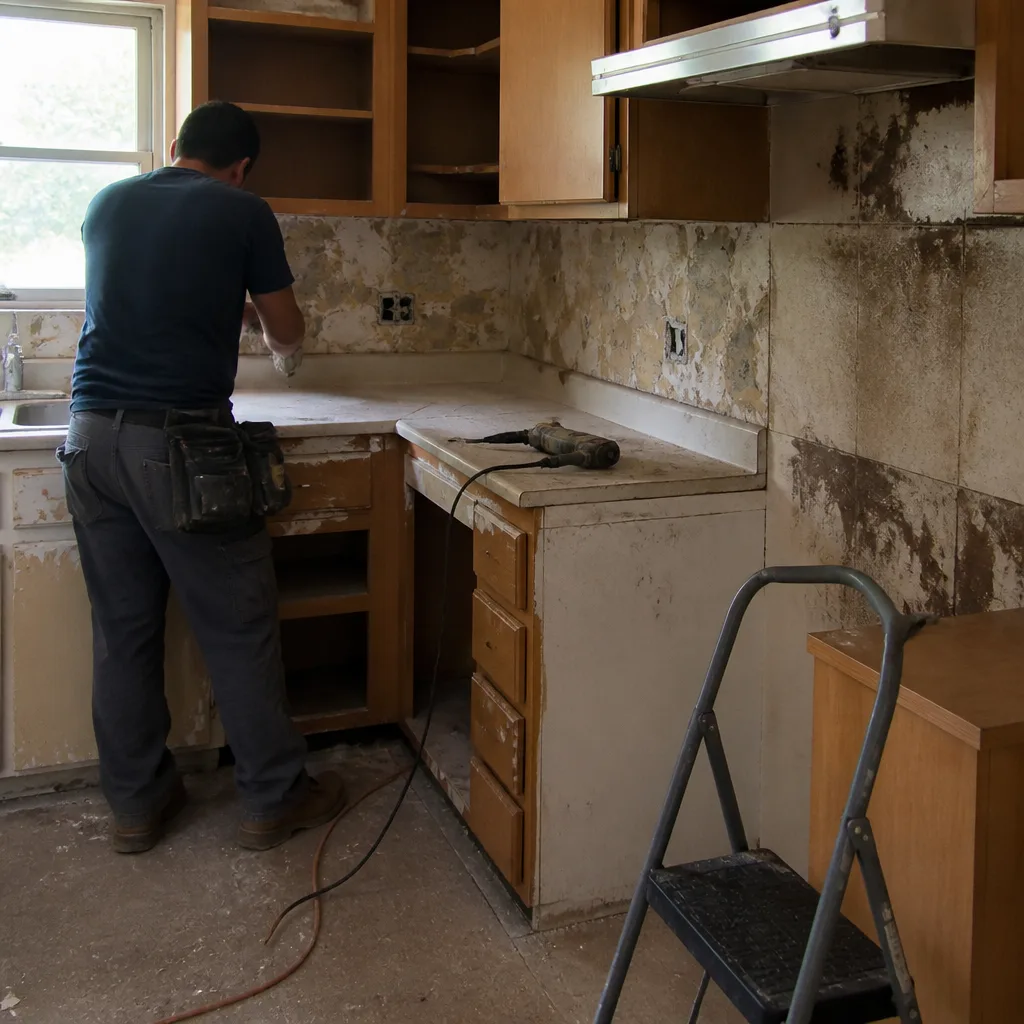 Before
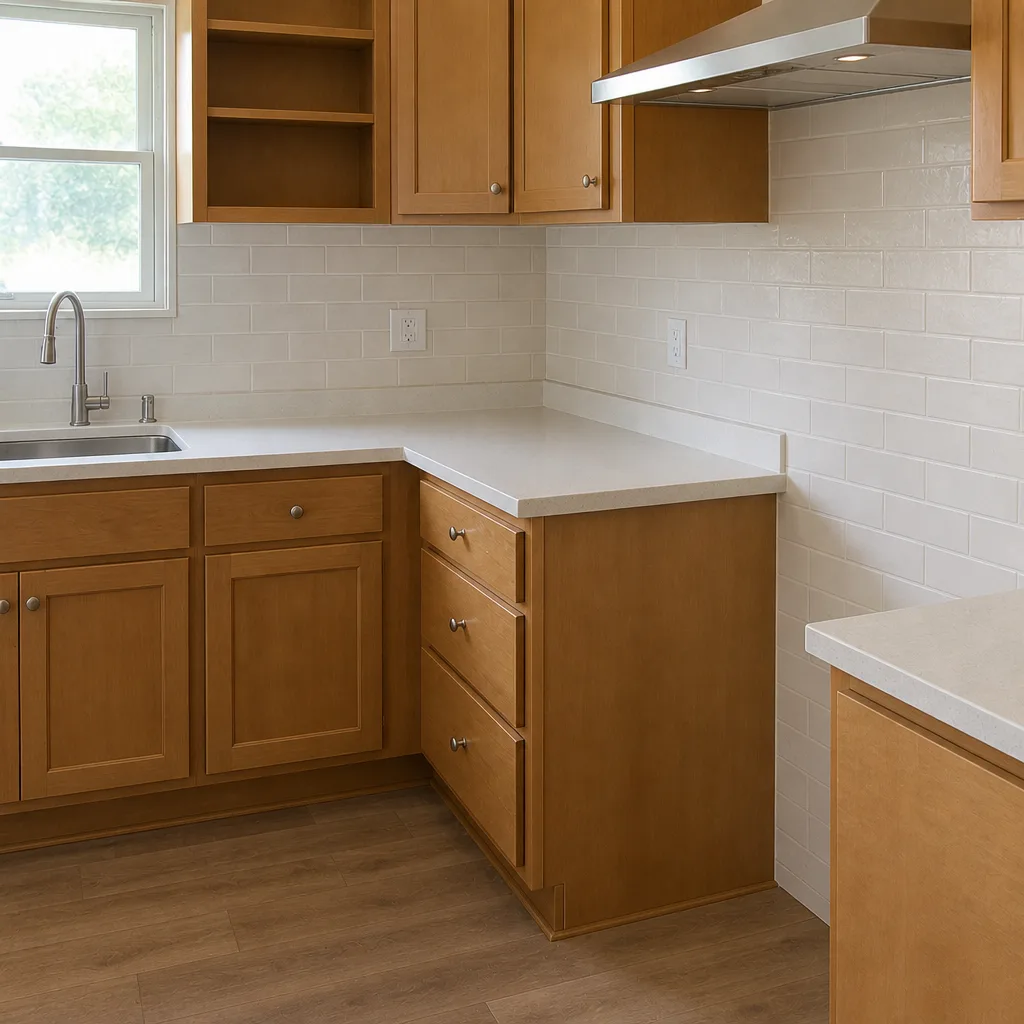 After
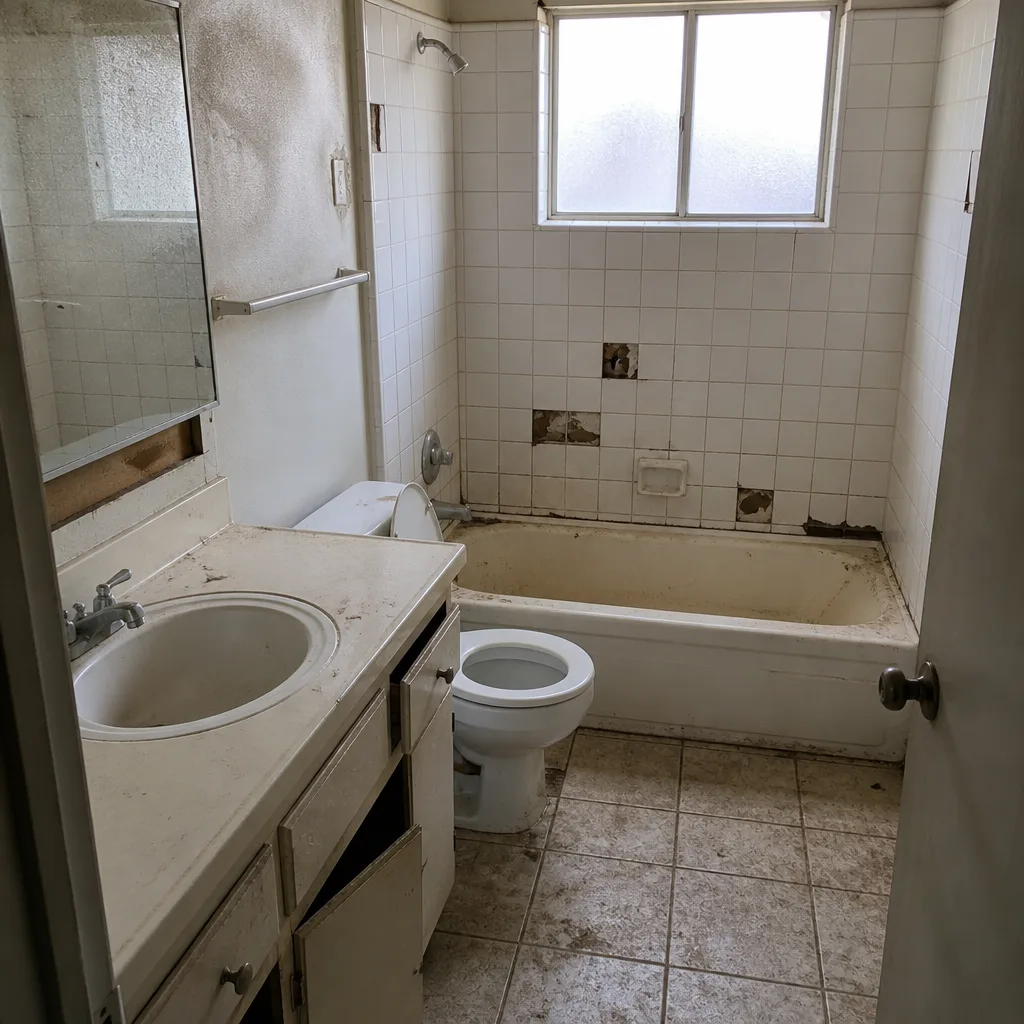 Before
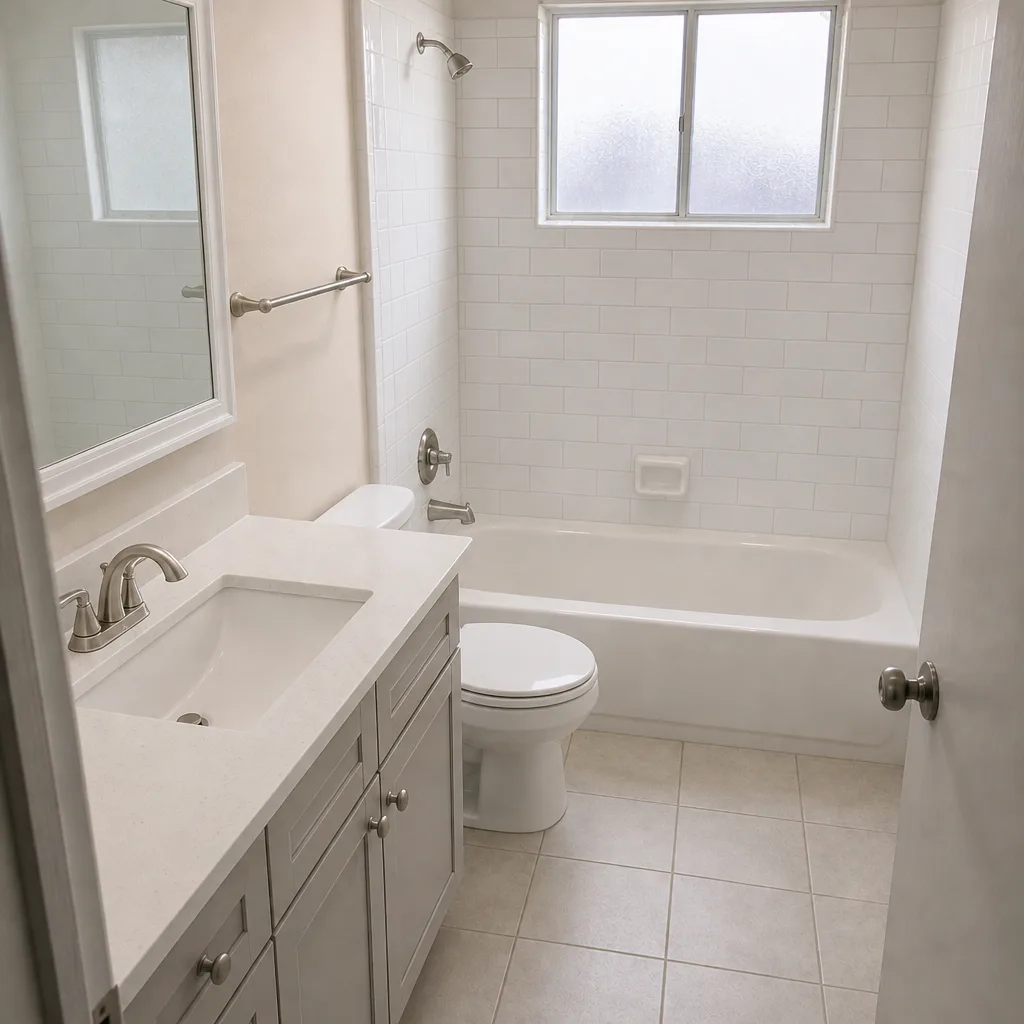 After
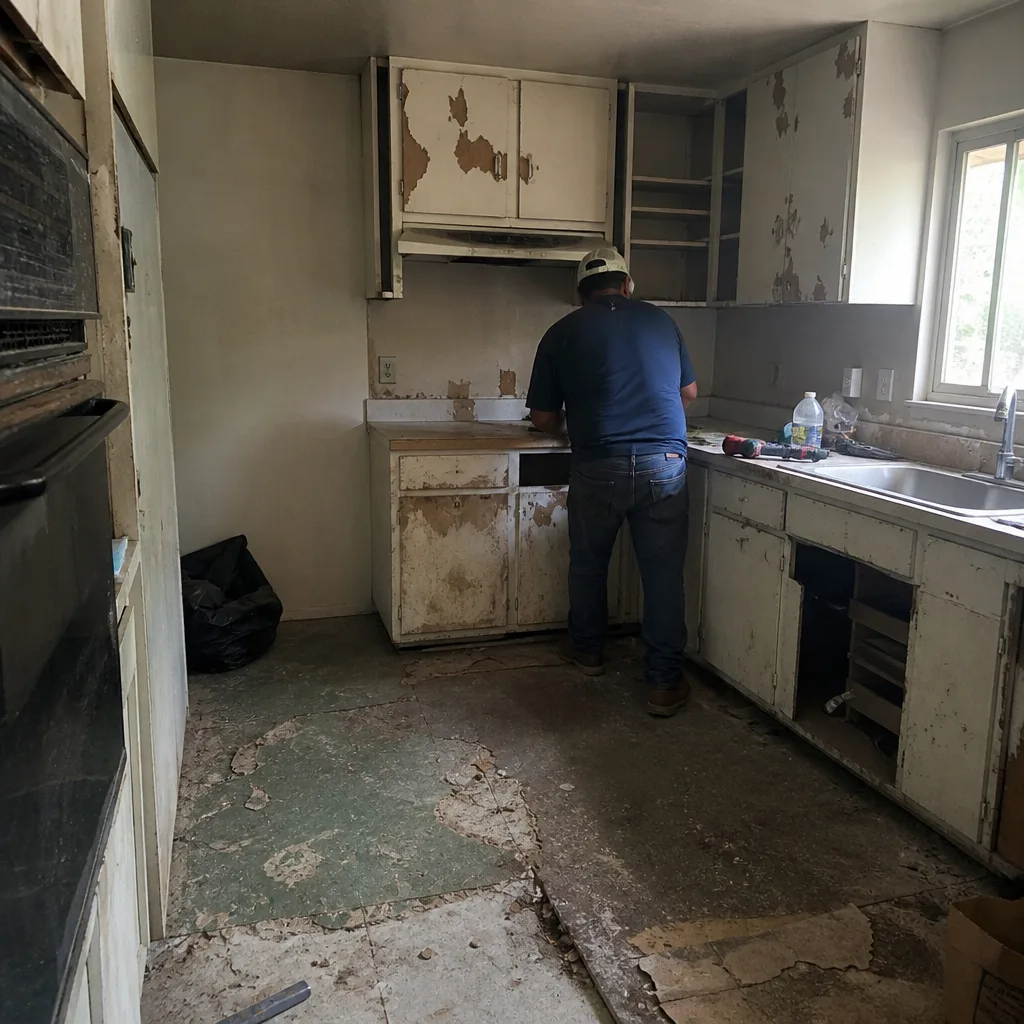 Before
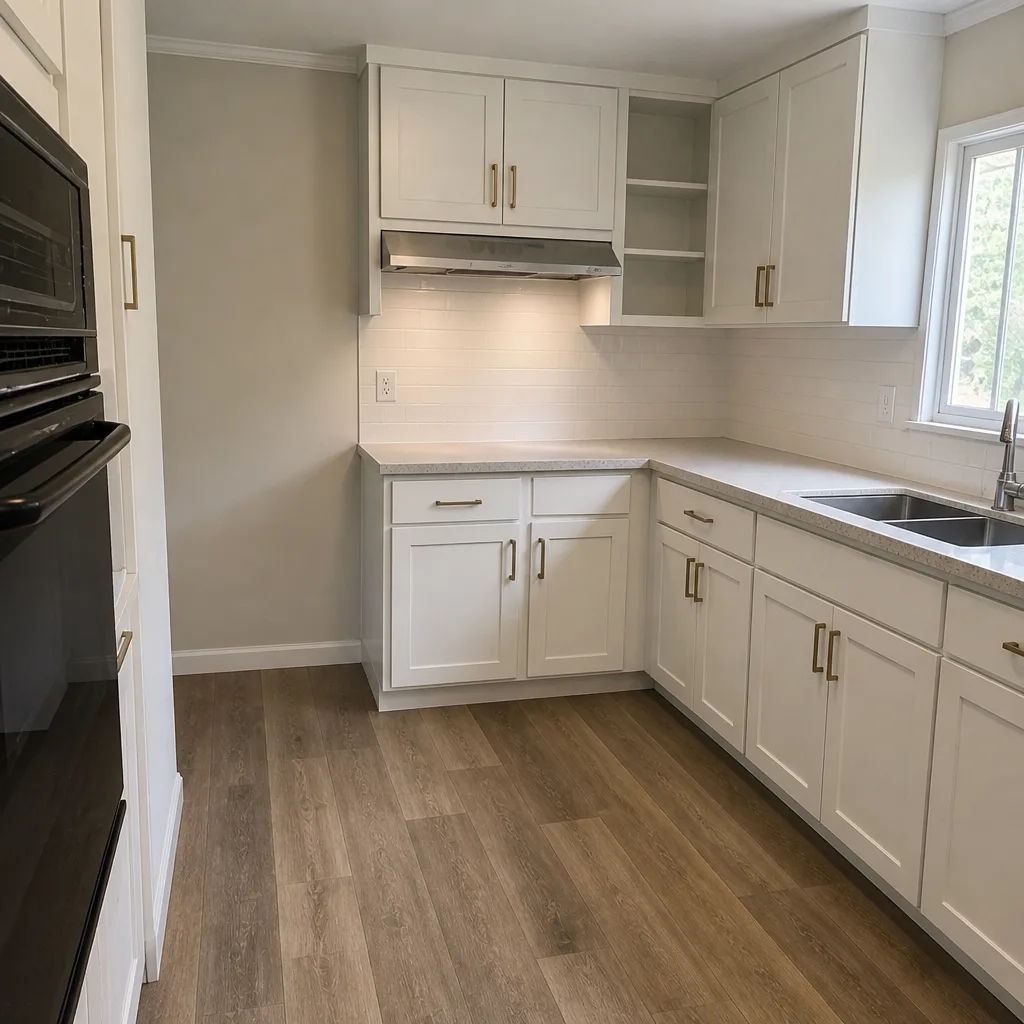 After
When to Call a Professional
Call a professional when the failure is structural, when water is moving in a way that changes the grade, or when the same spot has been repaired more than once and you want it fixed for good. Those are the situations where a do-it-yourself patch will fail and cost you more in the long run. The other signal is scope: if the driveway repair is part of a bigger project – a fence, an ADU, a regrade – plan it as one job so the trades don’t undo each other’s work. That’s what single-source means: one contract, every phase, so the drainage, the hardscape, and the perimeter are designed to work together. Construction Costa Mesa offers free estimates in Costa Mesa – call (855) 506-4558. Estimates are free, every quote is written line by line, and the price you see is the price you pay. We answer 24/7. Fast dispatch from 7am to 7pm, Sunday through Friday.
Frequently Asked Questions
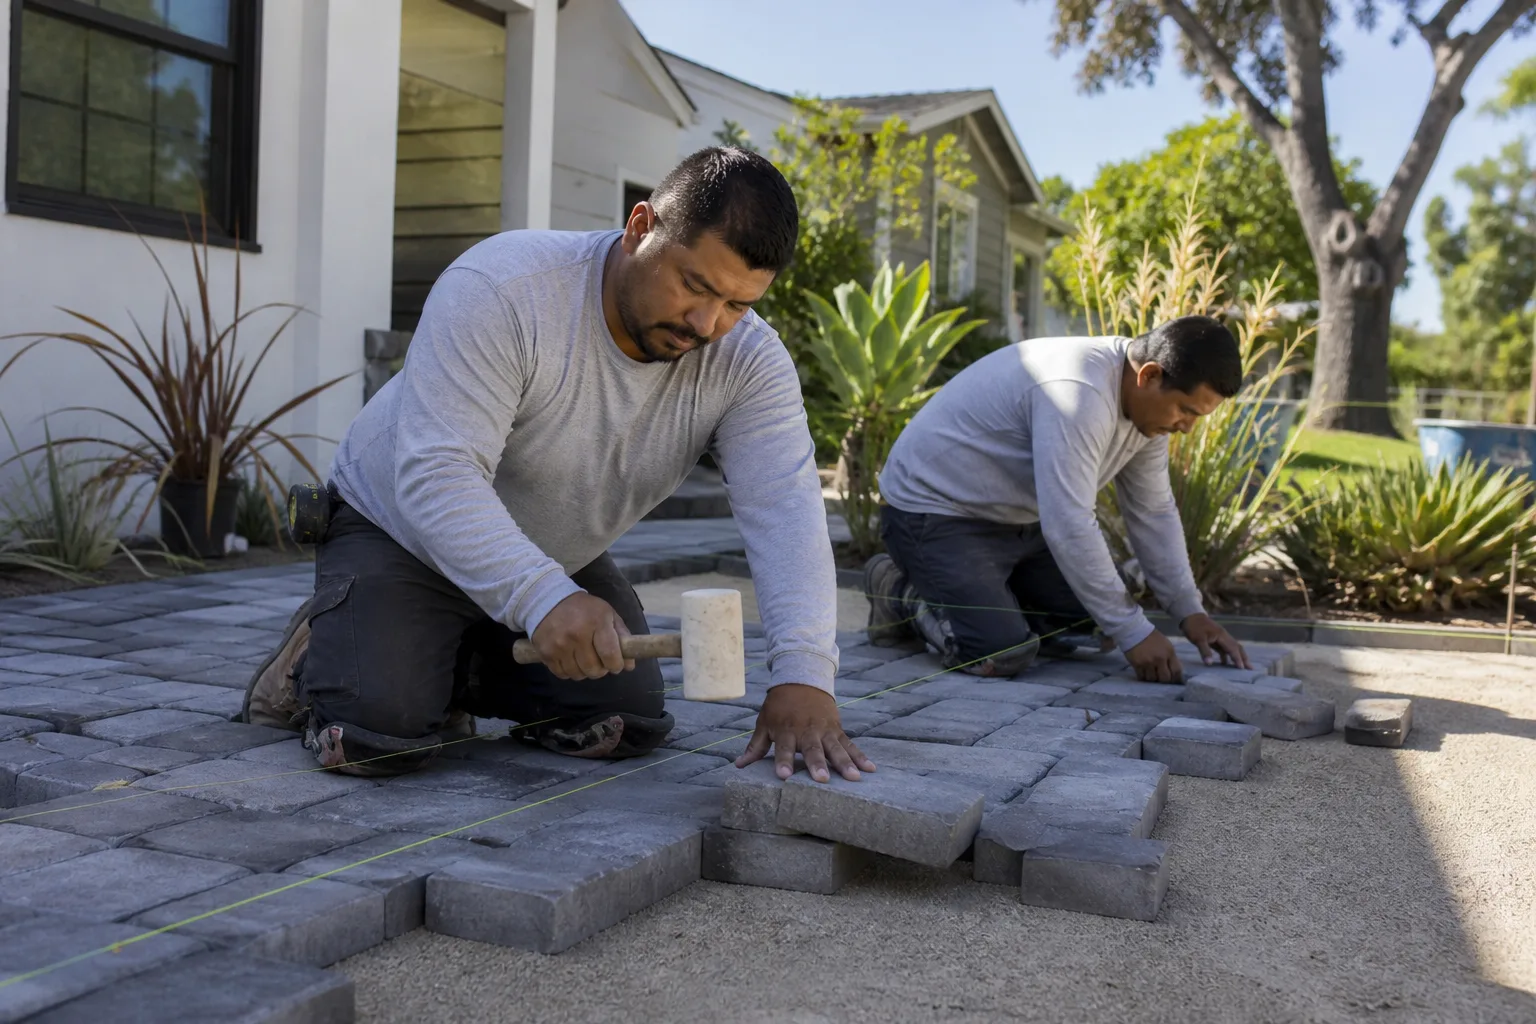
The pavers near the garage apron are sinking because water is channeling under the garage slab and washing out the compacted base beneath them. The apron is the lowest, hardest-working spot on the drive, and any gap at the slab seam gives water a route underneath. The fix is to re-compact the base and seal that seam, not just to reset the pavers. Call (855) 506-4558 for a free estimate.
Paver repair is priced per job by a written estimate, and the range depends on how much base failed and how accessible the spot is. A localized repair at the apron is a fraction of a full replacement because only the failed section is pulled. A full replacement is a bigger number and only makes sense when the base has failed across the drive. Call (855) 506-4558 for a free, written estimate that sets the final price.
No. Our quotes are fixed, with no change orders, so the price is set by the written estimate and doesn’t move once the work begins. If the base reveals something the surface couldn’t show – which is common – we talk it through before we proceed, not after. Call (855) 506-4558 to schedule your free estimate.
Re-sanding minor joints on a dry, mild day is a reasonable DIY job if you follow the manufacturer’s instructions. What’s not a DIY job is re-sanding over a drainage problem, because new sand will wash right back out. Fix the water path first. Call (855) 506-4558 if you’re unsure whether the sand failure is surface-level or underneath.
Polymeric sand fails in Costa Mesa mainly because of our temperature swings – hot afternoons and cool nights make the joints expand and contract until the sand crust cracks and lifts. Water then gets under it and the bond breaks. Re-jointing correctly, in the right weather window and with the joints cleaned to depth, is what makes it hold. Call (855) 506-4558 for an assessment.
Any repair that changes drainage grade or redirects water off the lot generally needs a permit or at least a plan review with the city, and we pull those permits and pass the inspections for you. Simple re-sanding and localized paver resets usually don’t require one. Ask us and we’ll tell you exactly what your project needs. Call (855) 506-4558 to schedule a free estimate.
The Bottom Line
The surface tells you what’s wrong underneath. Sinking at the apron means water under the slab, edge lifting means failed restraints, sand loss means a joint or drainage problem, and spalling is about the paver itself. Read the symptom correctly and you can avoid replacing a driveway that just needed a targeted repair. The habit that saves money is simpler than it sounds: ask where the water goes, and ask to see the base under the pavers before anyone quotes a replacement. When the repair is legitimate, we’ll tell you so, and when it’s not, we’ll show you why.
Construction Costa Mesa handles the whole exterior and interior of the home under one contract, from the roof down to the driveway. Whether you need a paver repair, a new driveway & pavers install, or a full construction Costa Mesa project, the estimate is free and the materials are specified, not substituted. Call (855) 506-4558 today for a free estimate. We answer 24/7. Fast dispatch from 7am to 7pm, Sunday through Friday, closed Saturday.
Written by the team at Construction Costa Mesa.